Tuesday, December 9, 2008

Blending photos together

my own take at blending stuff together for the 8 panel "excersize" they were all on white background
the image i used for the background is a texture, but it's still considered an image
so i set the texture to "darken" im pretty sure...on top of all the layers, making it look like it was the background. then i used some brushes to bring it all together. =)

Tuesday, November 25, 2008

the latency.


this is the project i did for the art show at the school.
i used pictures i took at previous concerts i have been at of the band, "the latency"
i wanted to have them all the same size, and feel to them
and i think i achieved that very well


Friday, November 21, 2008

the second hand unwinds

just a post of things i have made and havent posted.


Friday, November 14, 2008

art in action poster


in the making was the theme, and the first thing I thought when I heard "in the making" was in the making of music. I decided to blend two pictures together, one of the person playing the piano, and the other with the sheet music, I then added textures to give the picture certain texture and mood. I added tape textures making it look old and real. I really like the outcome of this and I feel the end product is what I wanted in the first place.

Wednesday, October 29, 2008

Wednesday, October 15, 2008

Friday, October 10, 2008

ABSTRACTS


BLACK LINE/COLLAGE


FALL TEXTURE


breathe in. breathe out, throw yourself in the sea

just a couple i made in the past week


i did not make the brushes/textures used in these
the pictures of brandon, mathew and ryan from the latency are ones that i took at a show on october 2nd
=)

Monday, September 29, 2008

explaining the tutorials.

alright, im guessing a lot of you dont know what the tutorials are saying when they tell you to do a certain thing.

textures: you pretty much paste the texture on top or between layers.
on the layers window you will have to change the opacity and the blending mode.

a fill color layer: you go layer> new fill layer> solid color
then you pick the color you want, or copy and paste the hex code into the # box.
then click okay, and you can change the opacity and blending mode.

a selective color layer: all you do is go layer> new adjustment layer> selective color
that then changes the selected color into a different color.

Tuesday, September 23, 2008

TSHIRT =)


The message I wanted to portray with my tshirt design is more to do with the quote. "After the rain you'll see the light again" is a metaphor to life, and saying that if something goes wrong, in the end everything will be okay.

Monday, September 15, 2008

TUTORIAL LISTS

I DID NOT MAKE THESE TUTORIALS
ALL CREDIT GOES TO THE PEOPLES LIVEJOURNALS.

they are very image heavy, i wouldn't recommend going to the following link w/ a slow internet connection
=)
dont hotlink.


http://community.livejournal.com/the_borg_alcove/2908.html
headers and wallpapers.
http://community.livejournal.com/resourcelove/176932.html
list full of tutorial lists.
http://whatever-freak.livejournal.com/14082.html
coloring, icons, headers and wallpapers
http://community.livejournal.com/the_borg_alcove/2642.html
banners, some including animation. coloring.
http://famineghost.livejournal.com/30696.html
coloring, icons, and headers.
http://agentgoodnight.livejournal.com/25172.html
large graphics. extra tips (selecting people from background etc.)
http://black-sound.livejournal.com/14726.html
banners and headers.
http://boni-bon.livejournal.com/123535.html
banners, headers, wallpapers, and icons
http://community.livejournal.com/whisperas/2108.html
icons, banners, other big graphics
http://curious-icons.livejournal.com/3752.html
icons, graphics, and cleaning up photos
http://dionisia2005.livejournal.com/134739.html
headers, banners, wallpapers.
http://community.livejournal.com/iconick/50352.html
icons, lots of coloring.
http://hsapiens.livejournal.com/27094.html
coloring, icons, techniques, animation, and links
http://jillrenay.livejournal.com/79743.html
icons, banners, and headers.
http://community.livejournal.com/kirjava17icons/13601.html
icons, and others.
http://l0veannie.livejournal.com/2890.html
icons.
http://0oh--snap---xx.livejournal.com/22608.html
icons, and headers, and banners
http://panic4.livejournal.com/7003.html
icons, headers, banners, wallpapers, and tips.
http://starhorse-99.livejournal.com/5996.html
icons, headers, coloring, wallpapers etc.

Friday, September 12, 2008

steps:

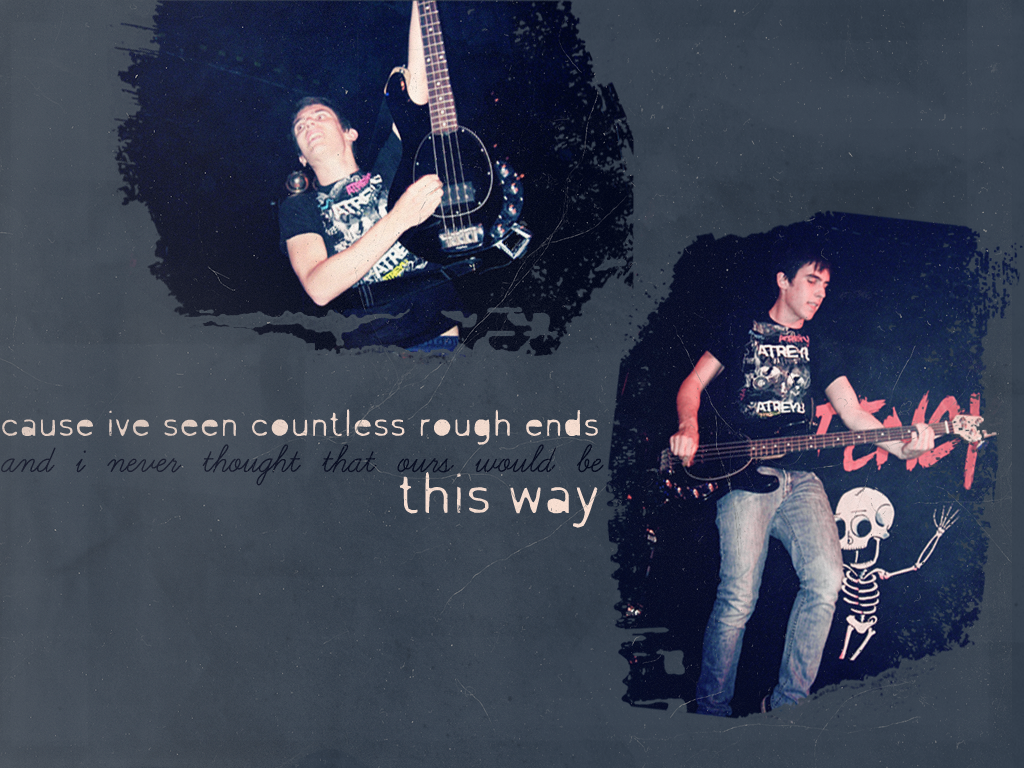
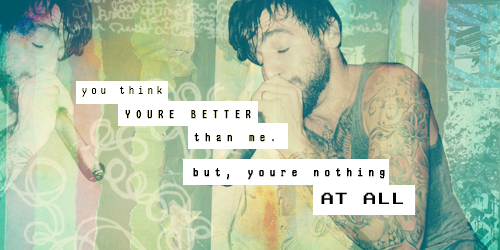
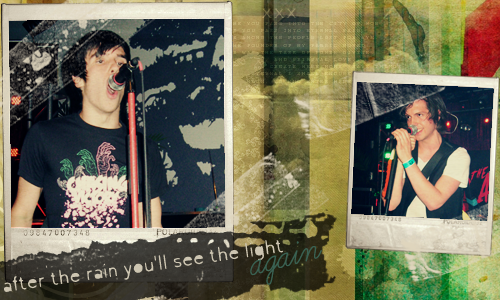
1) Desaturate the image of jacob hoggard.
2) Duplicated it - Set it to screen
- changed opacity
3) Merge Layers
4) Added this texture- set to lighten @ 82% opacity
5) Duplicated the base, brought the duplicate to the top and set it to soft light, duplicate the soft light layer.
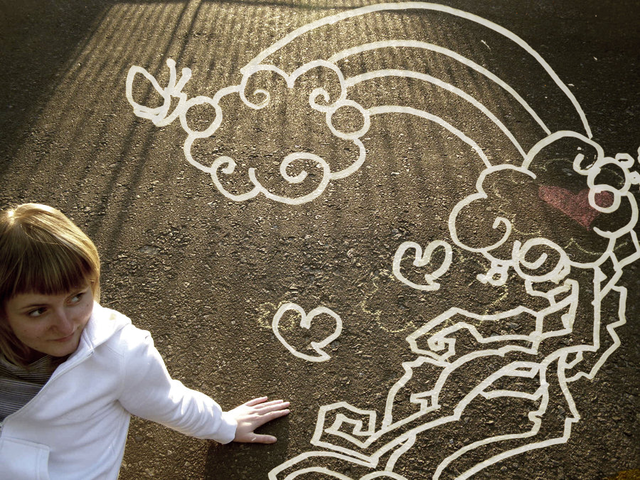
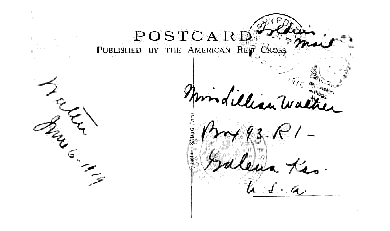
6) Took this frame and desaturated it. moved the frame on top of the picture of jacob.
-set the frame to lighten, and duplicate.
-cropped picture with frame and merge
7)opened a new canvas (515x332)
8) Layer> New Fill Layer> Solid Color with #f9ecda
9) mirrored the image with the frame and pasted it on the canvas
10) transformed and scaled picture to fit to the canvas
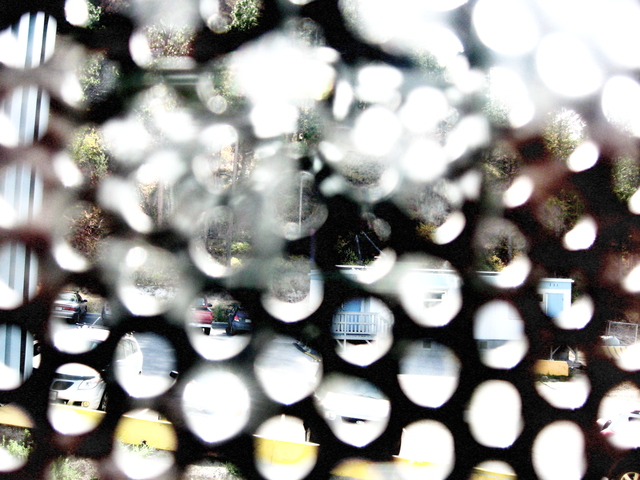
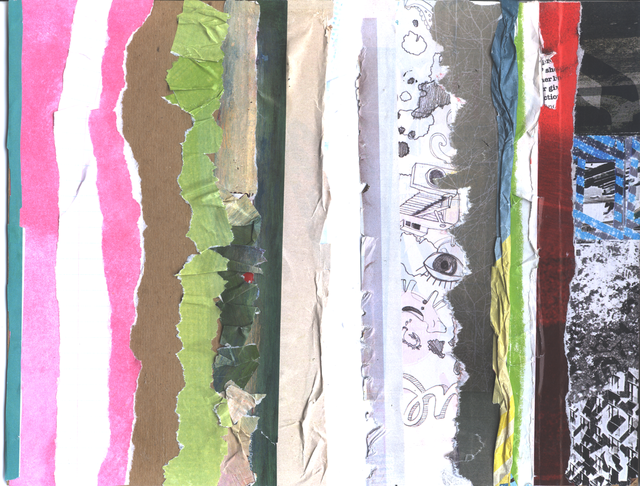
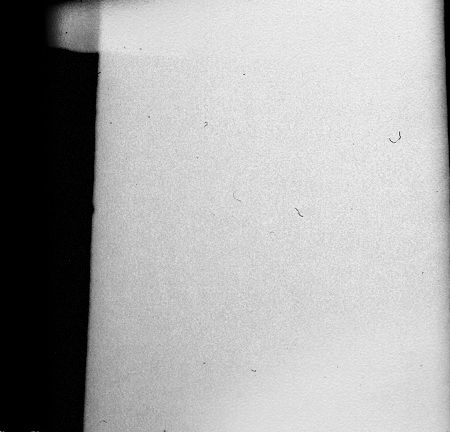
11) used a part of this texture and pasted it underneath the picture with the frame.
12) added a fill later with #030a14 and set it to exclusion.
13) duplicated the fill layer but change to 40% opacity
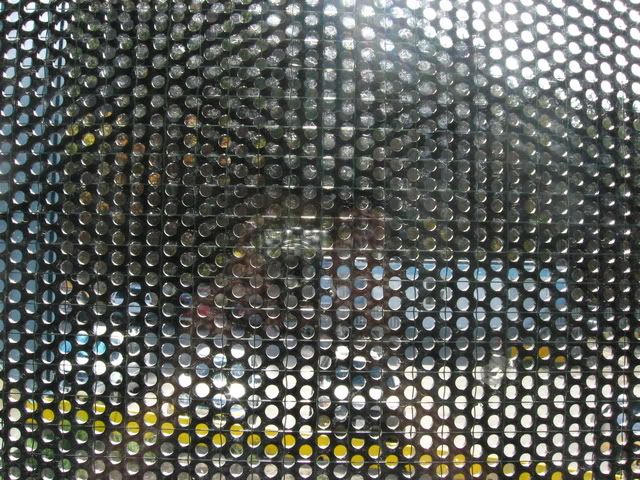
14) used this pattern and made a line along the edge of the canvas
15) beside that pattern I added a deep red rectangle
16) added this brush on a new layer, and set it to multiply
17) added this texture and set to multiply and played around with the opacity
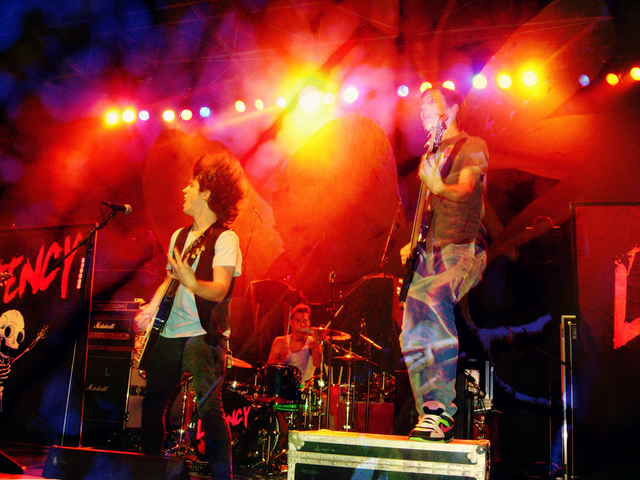
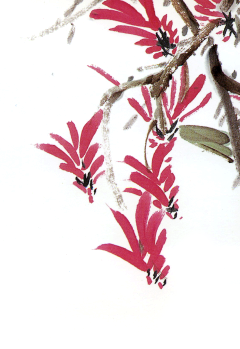
18) then I added this texture rotated it ccw and set it to multipy on top
19) then i added this last brush on it's own layer and set it to darken at 65% opacity

TADA ALL DONE!

Assignment 1


i cannot find a memory